


Python is one of the most widely used programming languages today, known for its simplicity, readability, and versatility. This post we will help you to install Python on Debian.
Table of Contents
What is Python?
Python is a high-level, interpreted programming language popular for its simplicity and readability. It is widely used across various domains, including web development, data science, artificial intelligence (AI), automation, cybersecurity, and more. Python has an easy-to-learn syntax which makes it a great choice for beginners, while its powerful libraries and frameworks make it popular among professionals.
Why use Python on Debian?
There are various reasons to use python on Debian:
- Compatibility and Stability – Python runs seamlessly on Debian, ensuring smooth integration with system libraries and utilities.
- Robust Package Management – Debian’s package manager (APT) makes it easy to install and manage Python and its dependencies.
- Security and Reliability – Debian enforces strict security policies, ensuring that your Python applications run in a secure environment.
- Flexibility – Debian provides a flexible setup for all programming requirements.
How to Install Python on Debian?
There are multiple ways to install Python on Debian. The method you choose depends on your requirements and preferences. Follow the guide below, to know about various methods to choose from.
Method 1: Install Python using APT (Recommended for Beginners)
The easiest and most common way to install Python on Debian is by using APT (Advanced Package Tool).
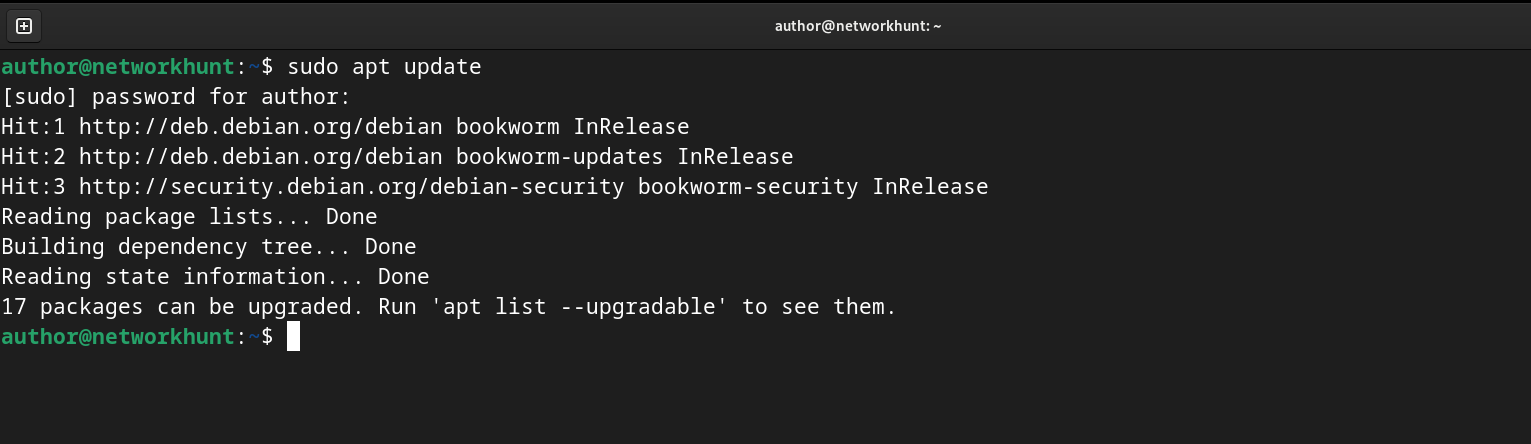
Step 1: Update Package List
Updating Package List, ensures that your system’s package list is up to date and you install the latest available version of Python:
$> sudo apt update
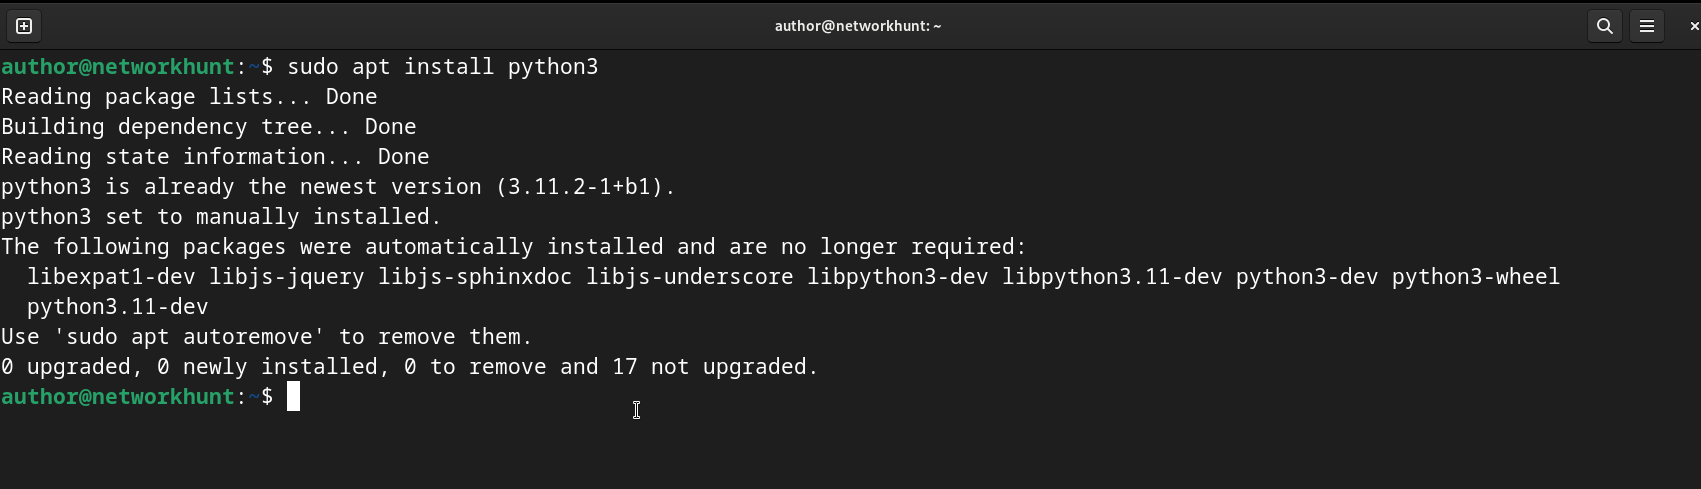
Step 2: Install Python
To install Python 3, use the following command:
$> sudo apt install python3
Step 3: Verify Installation
Once the installation is complete, verify the installed Python version, using:
$> python3 --version

Method 2: Install Python via Snap Package Manager
Snap is another way to install Python on Debian. It provides a universal package format that works across different Linux distributions.
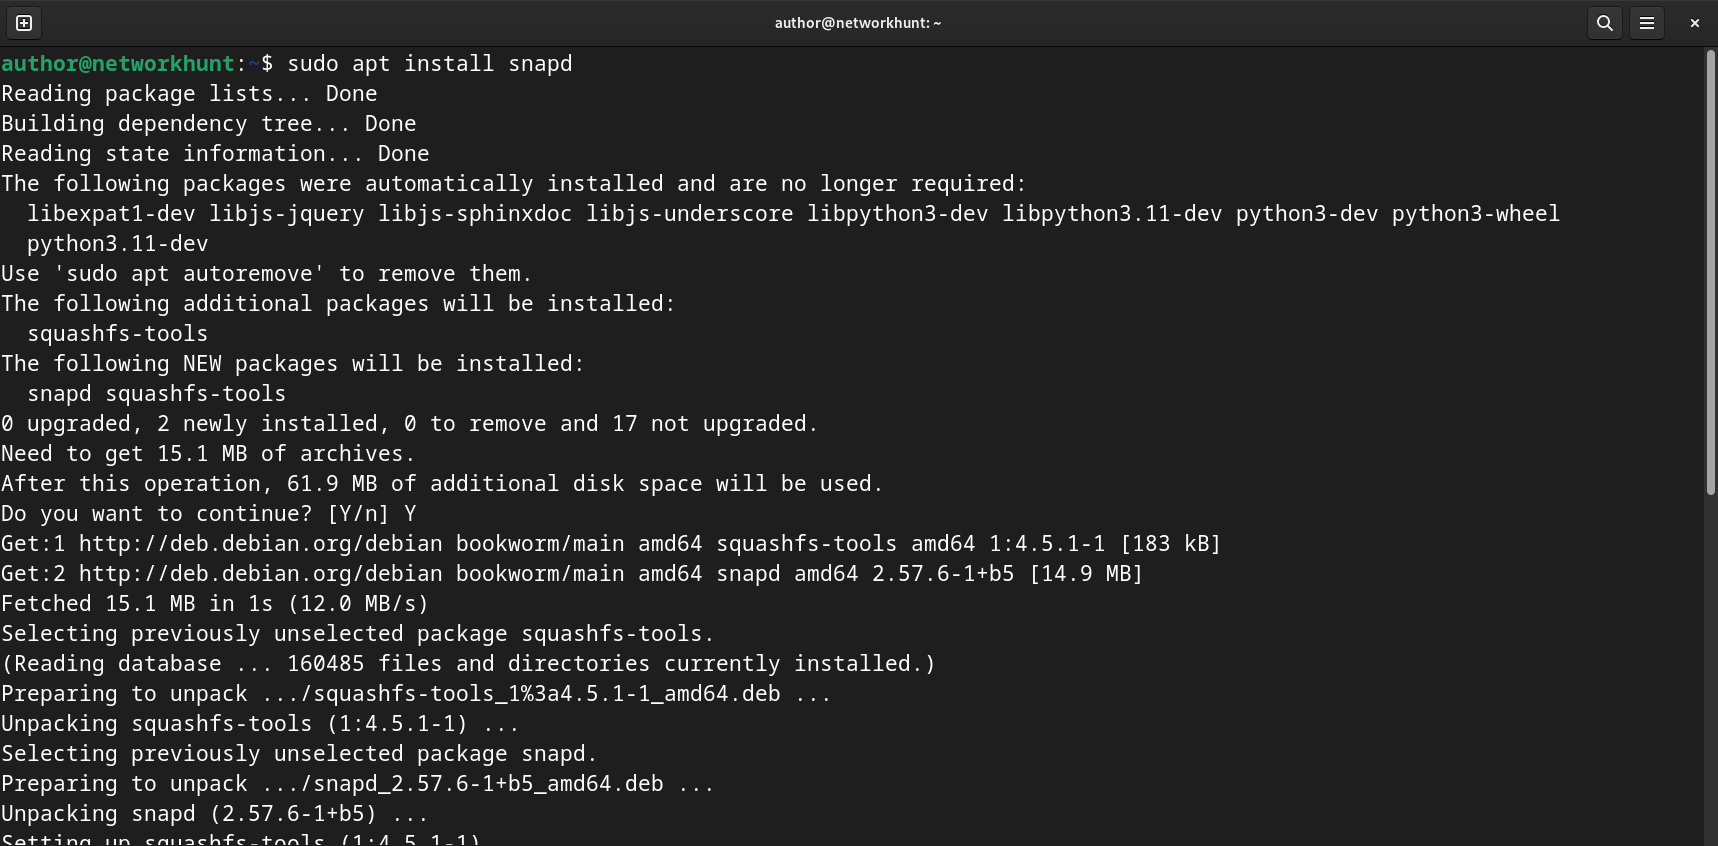
Step 1: Install Snap
Use the command below to install Snap:
$> sudo apt install snapd
Step 2: Find Available Python Versions
Use the command below to list different available Python versions.
$> snap find python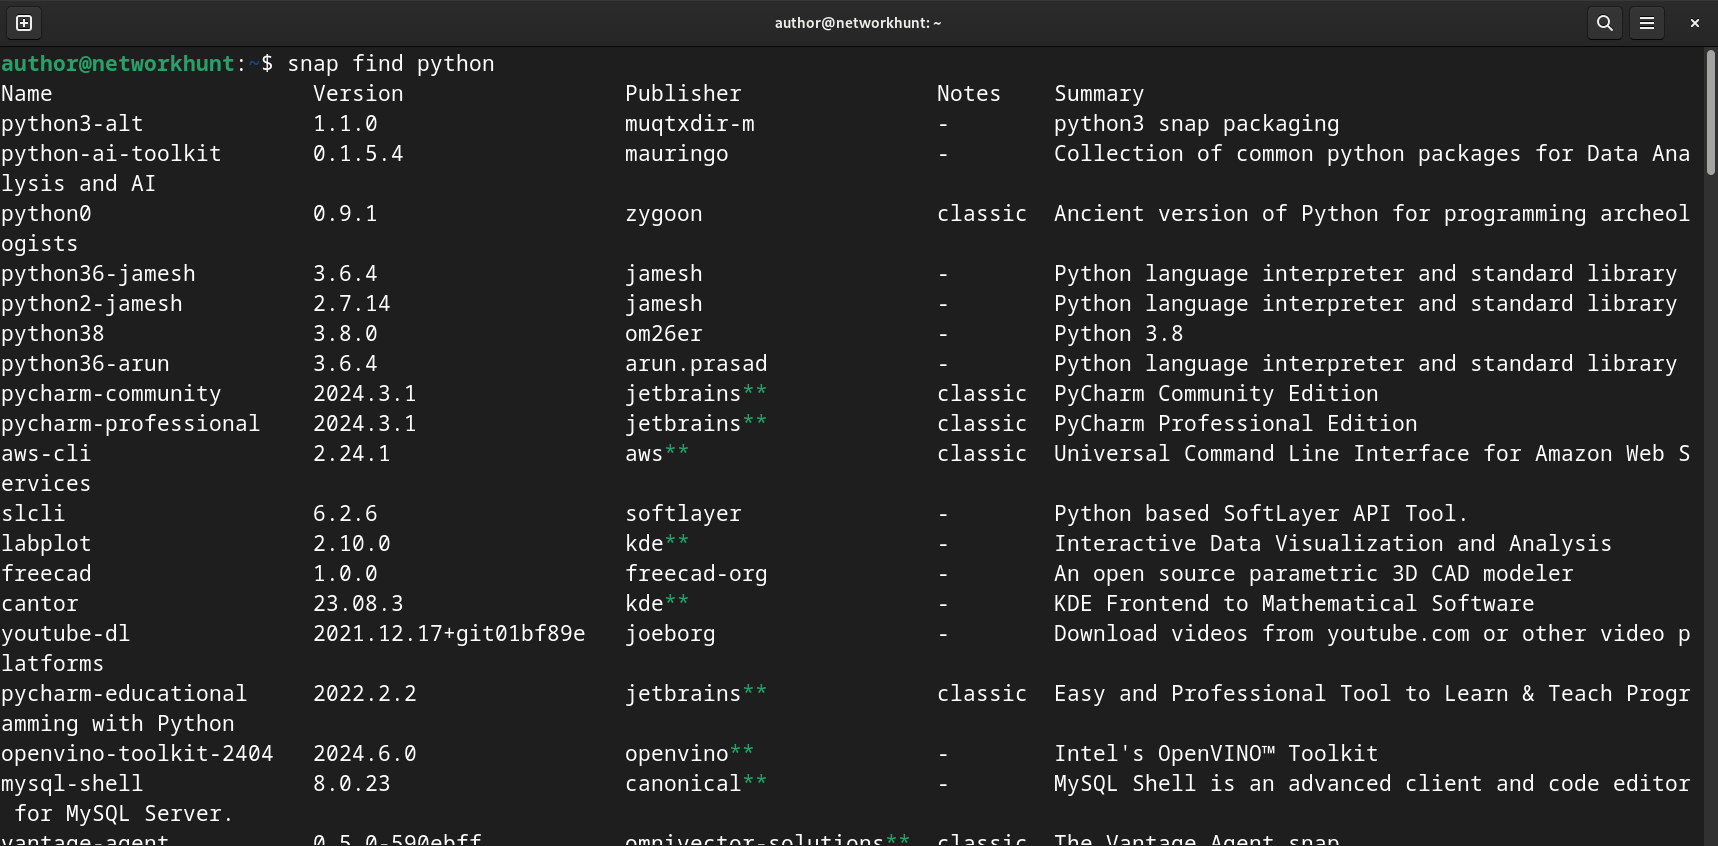
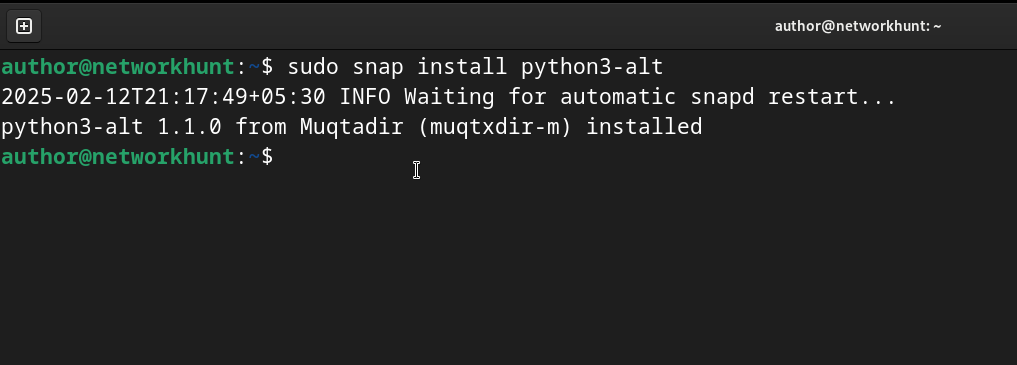
Step 3: Install Python Using Snap
Install the required version of Python, using:
$> sudo snap install python[Version]Replace [Version] with the required version to install. For example, 3.8
Step 4: Verify Installation
Check the installed version:
python3 --version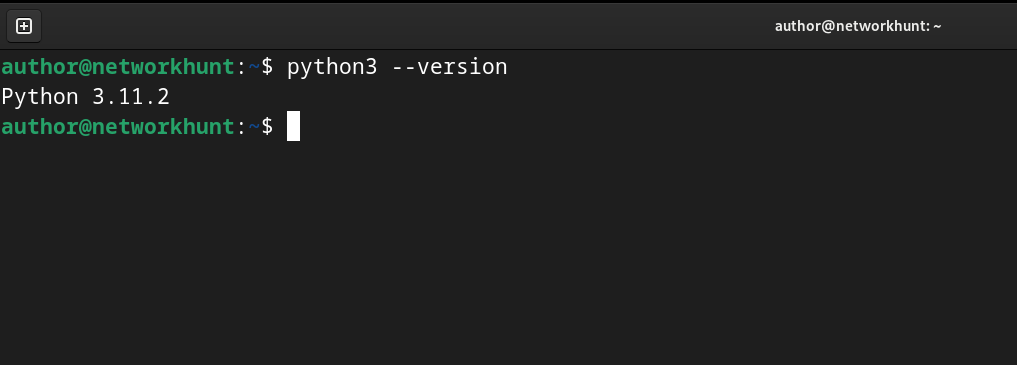
Method 3: Install Python from Source (For the Latest Version)
If you require the latest version of Python, you must install it from the source. This method provides you with more control and flexibility.
Step 1: Install Required Dependencies
Before installing Python from the source, install the necessary development tools, using:
$> sudo apt install build-essential zlib1g-dev libncurses5-dev libgdbm-dev libnss3-dev libssl-dev libreadline-dev libffi-dev libsqlite3-dev wget libbz2-dev -y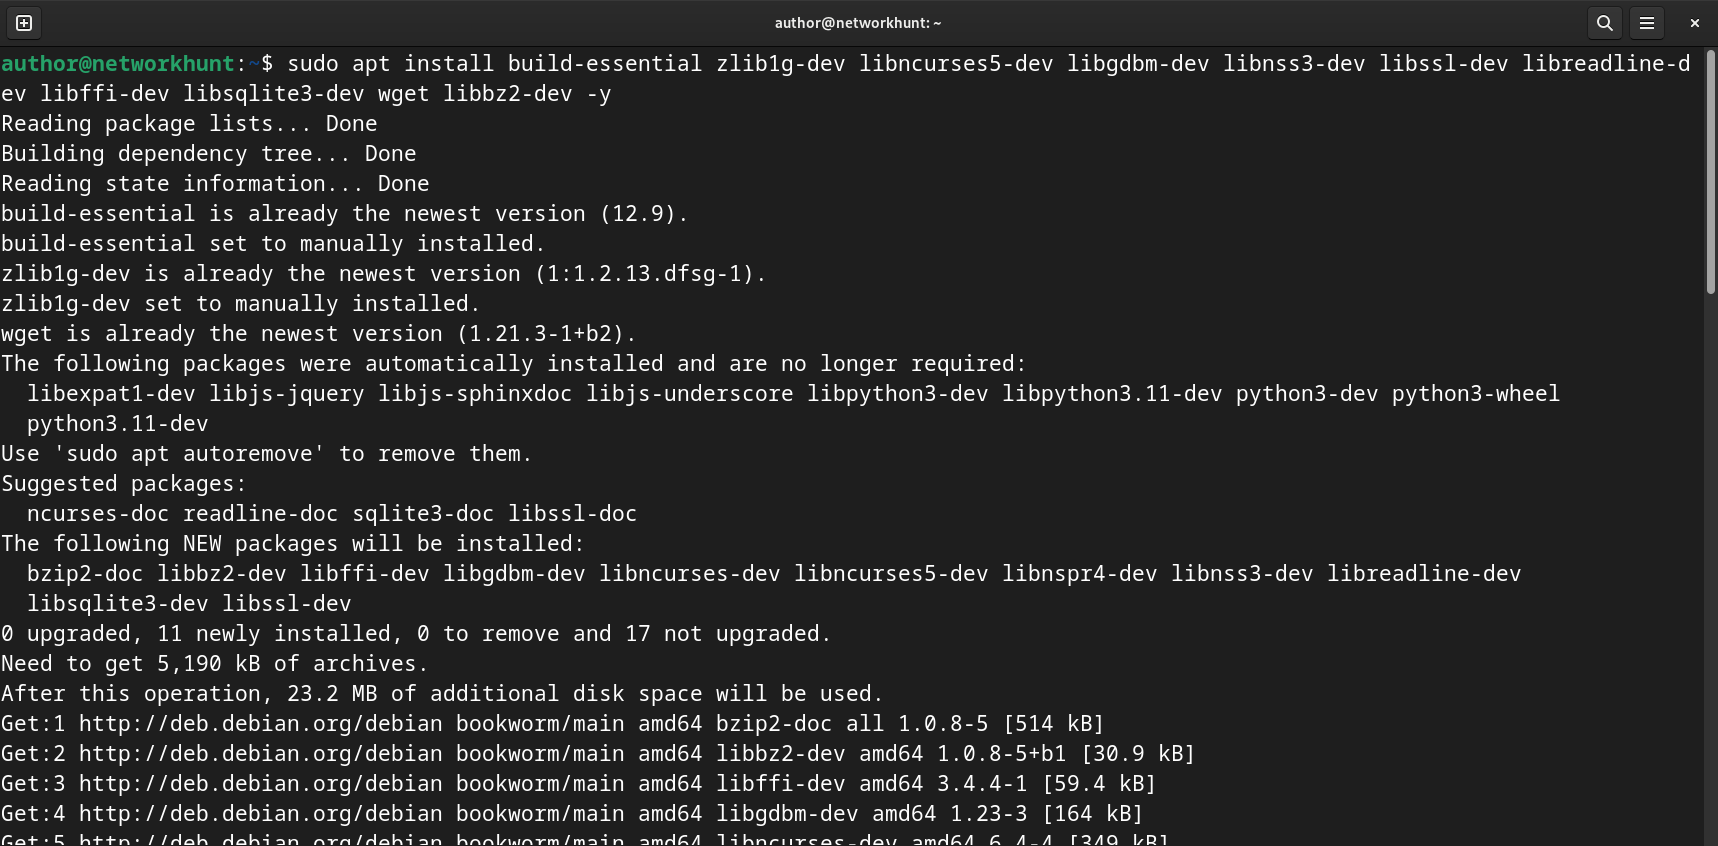
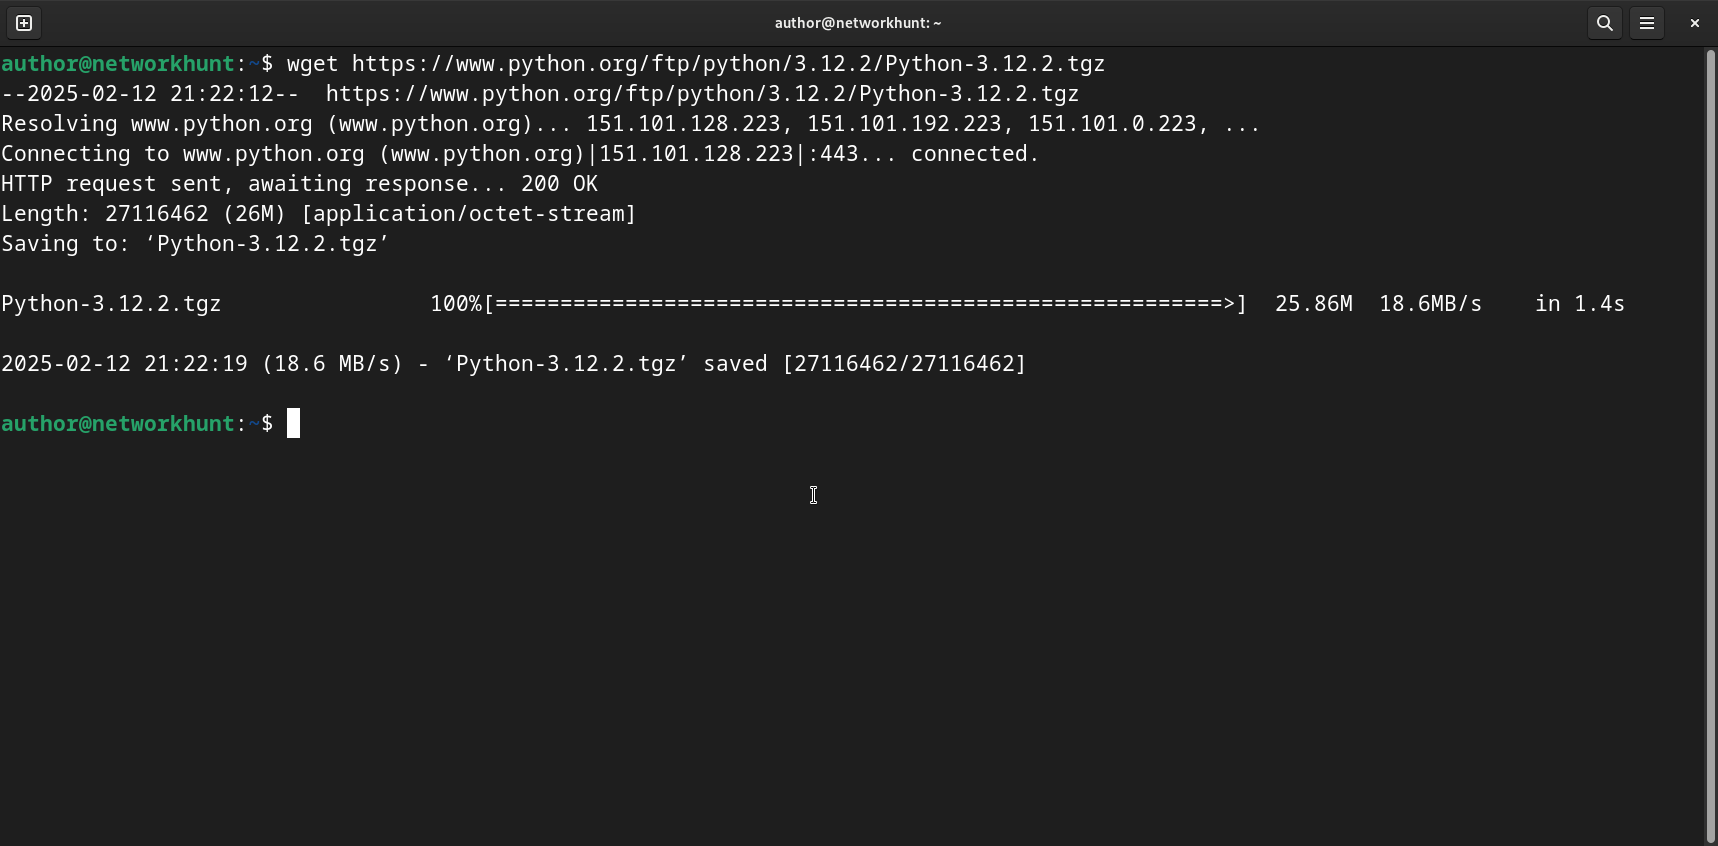
Step 2: Download Python Source Code
Visit the official Python download page and get the latest version. Then, use the wget command to download it:
$> wget https://www.python.org/ftp/python/[Version]/Python-[Version].tgzReplace [Version] with the required version to install.
Step 3: Extract the Downloaded File
Use the command below to extract the downloaded file.
$> tar xzf Python-3.12.2.tgz
$> cd Python-3.12.2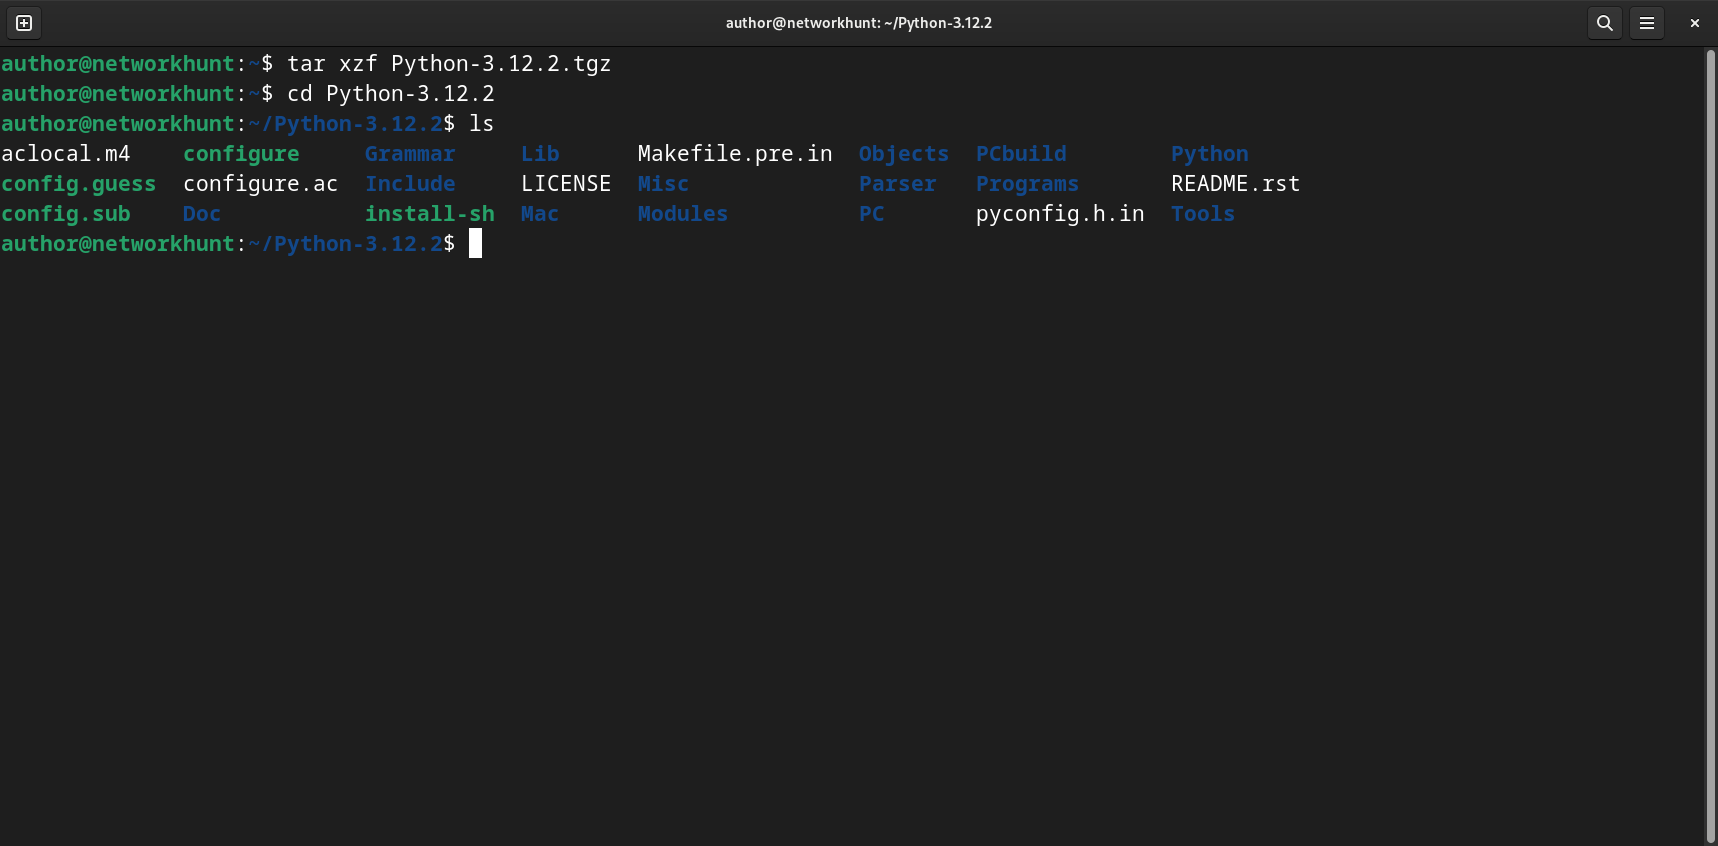
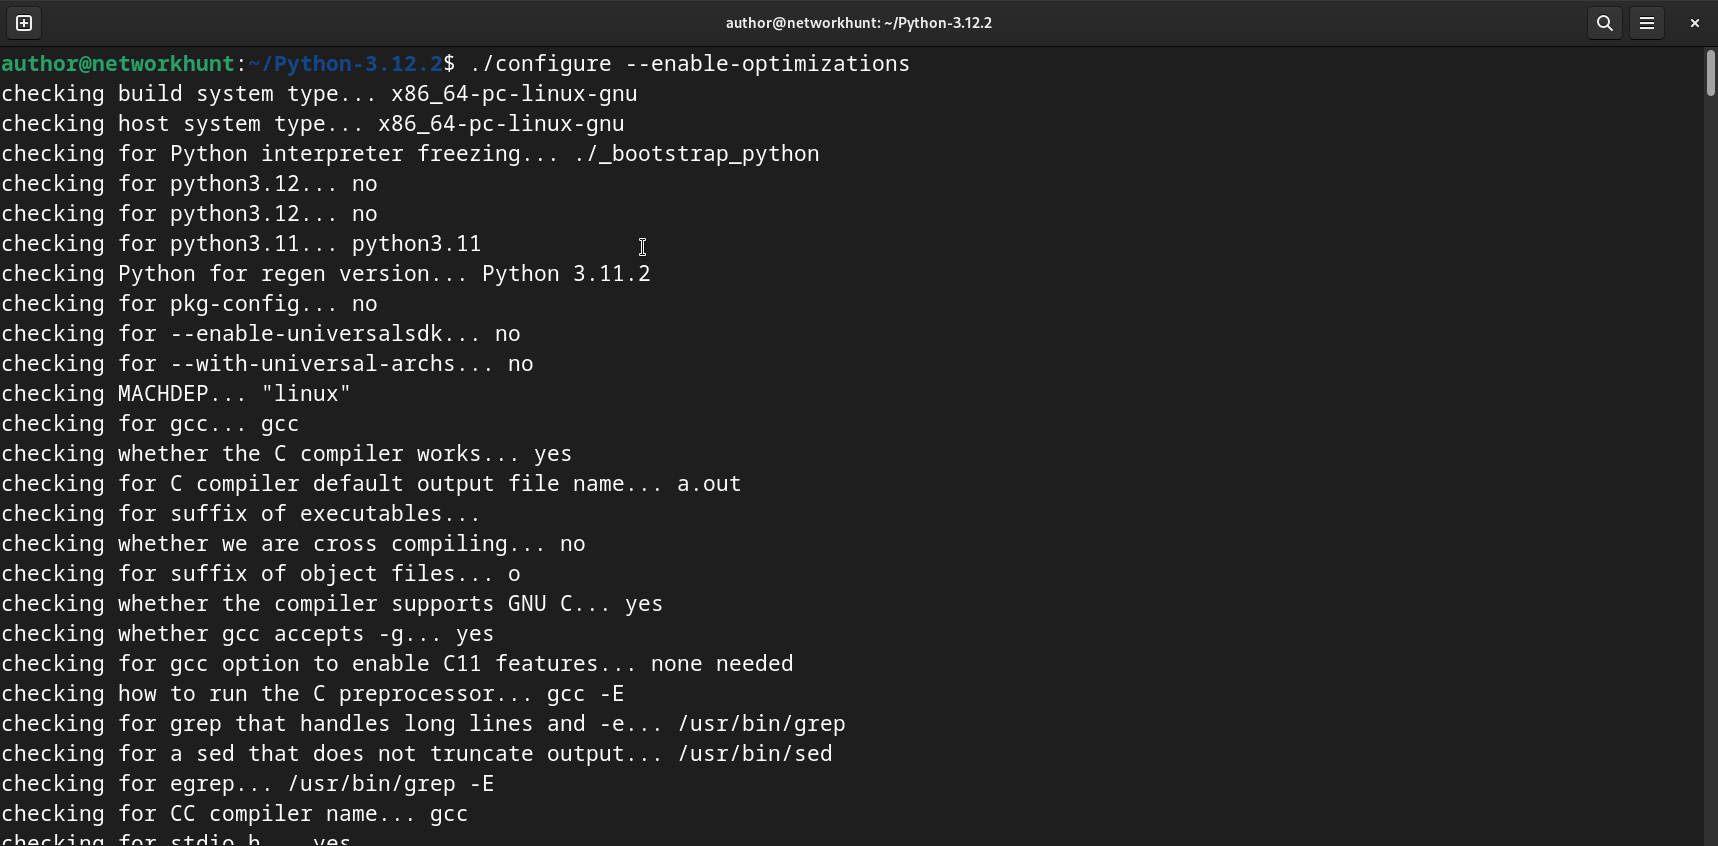
Step 4: Configure the Build
Configure the Build, using:
$> ./configure --enable-optimizationsThe –enable-optimizations flag ensures better performance.
Step 5: Compile and Install Python
Run the following command to compile Python:
$> make -j $(nproc)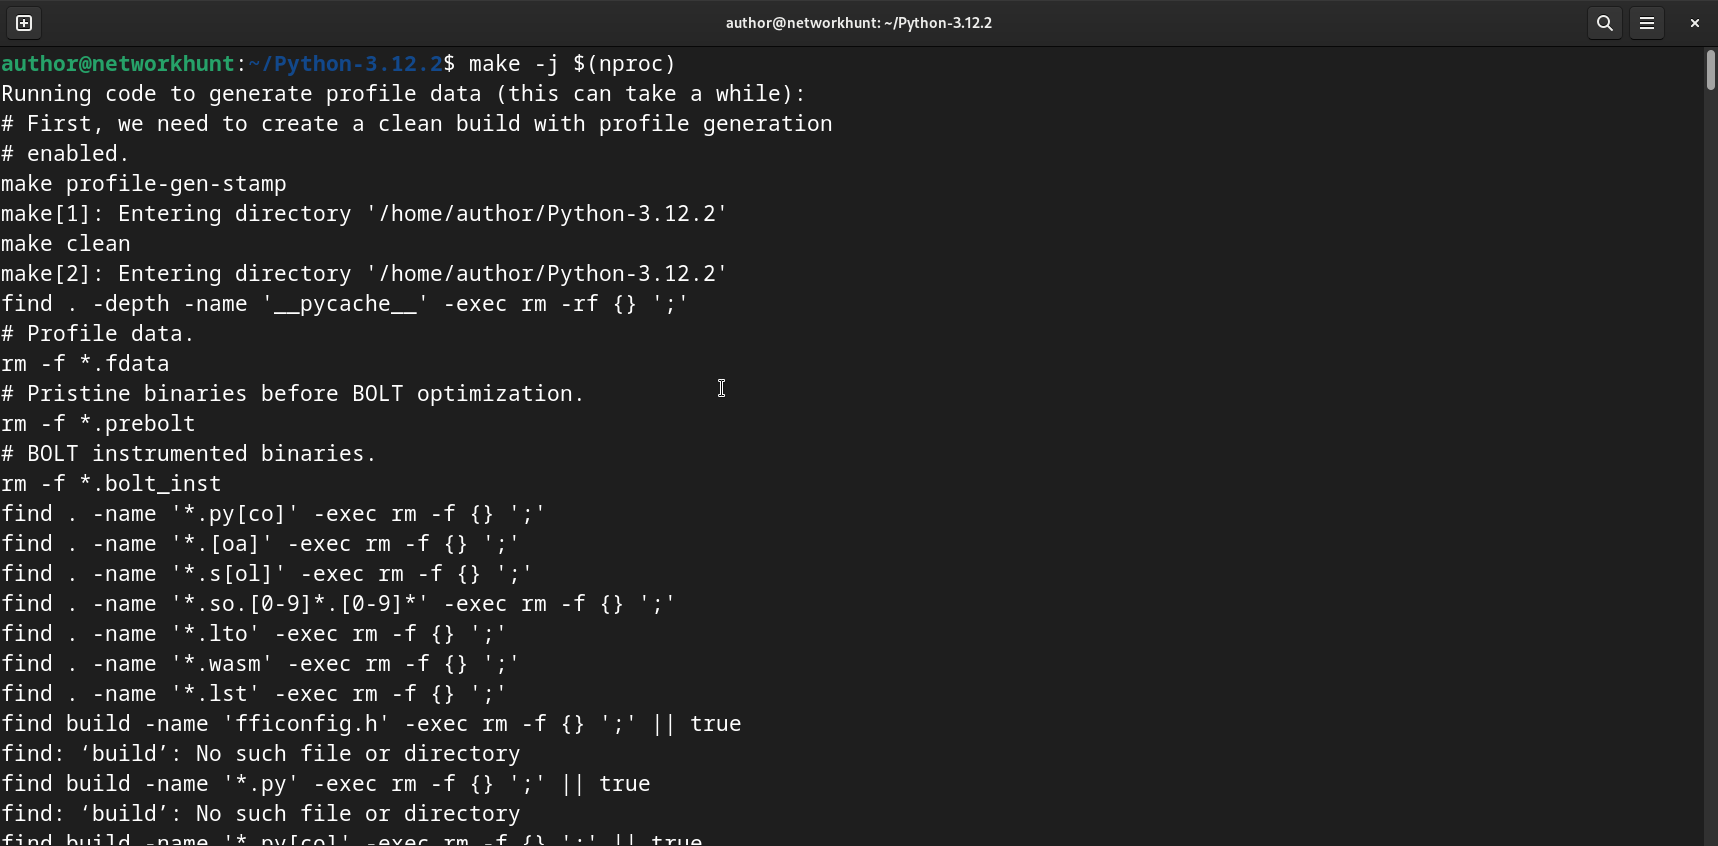
Once the build process is complete, install Python, using:
$> sudo make altinstall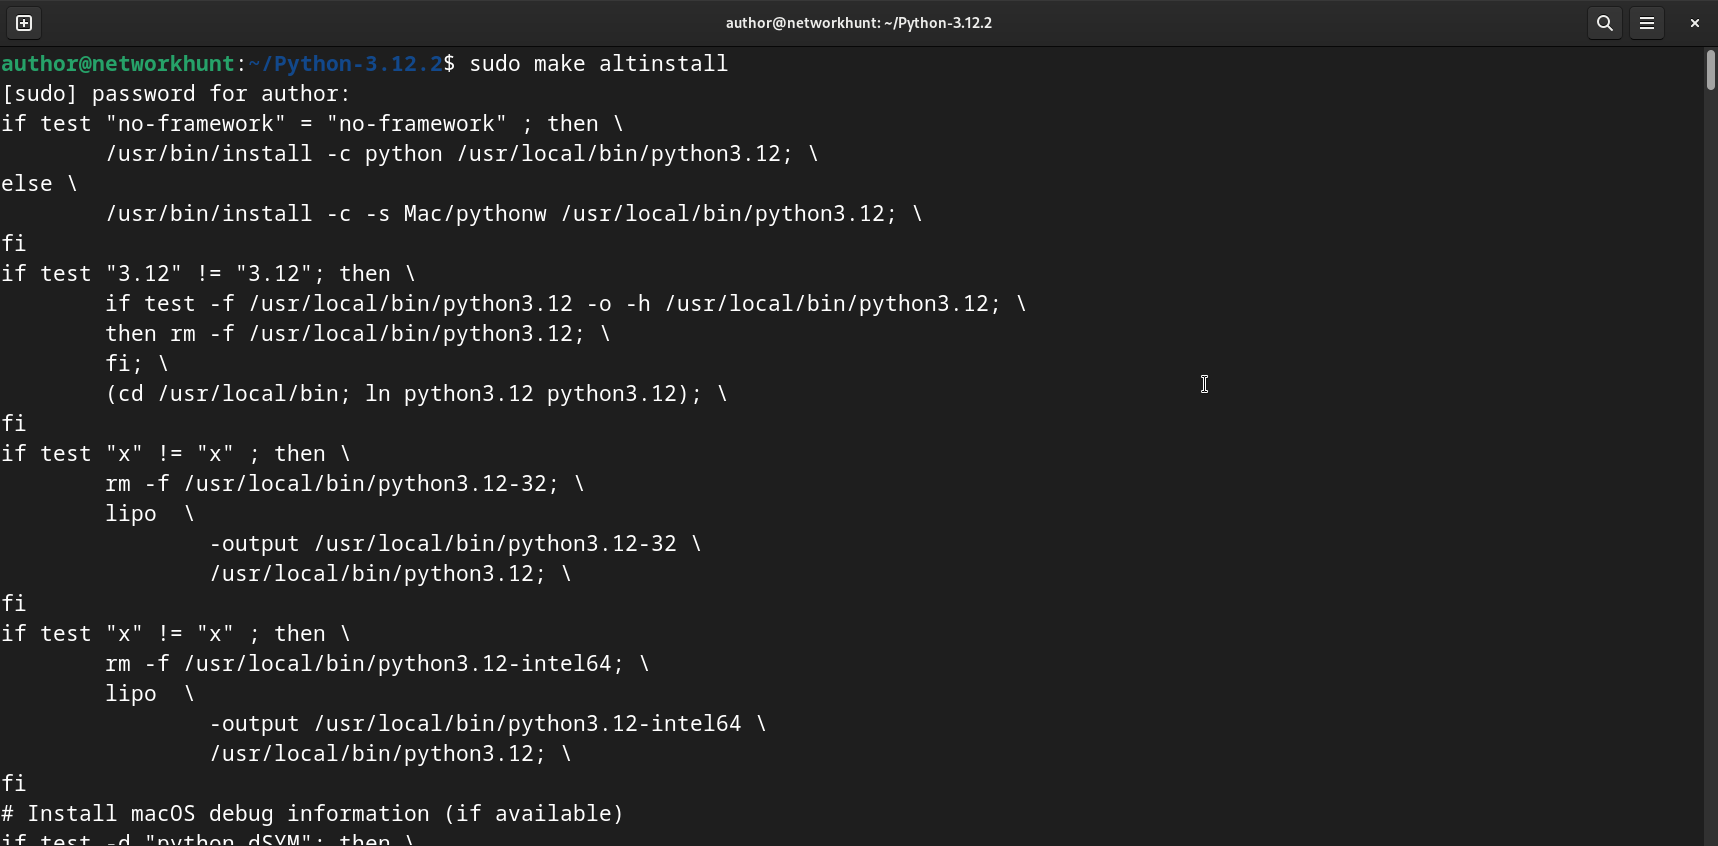
Step 6: Verify Installation
Verify installation, using:
$> python3.12 --version
How to Create a Virtual Environment?
A virtual environment helps you isolate dependencies for different projects. You may setup a virtual environment in a Debian System, by following the steps below.
1. Install Virtual Environment Module
$> sudo apt install python3-venv -y
2. Create a Virtual Environment
$> python3 -m venv my_project_env
3. Activate the Virtual Environment
$> source my_project_env/bin/activate
You should see the environment name in your terminal.
To deactivate the virtual environment, use:
$> deactivate
This post helps to understand How to install Python on Debian, using various methods from using APT or Snap Package Manager to Installing Python from Source itself.