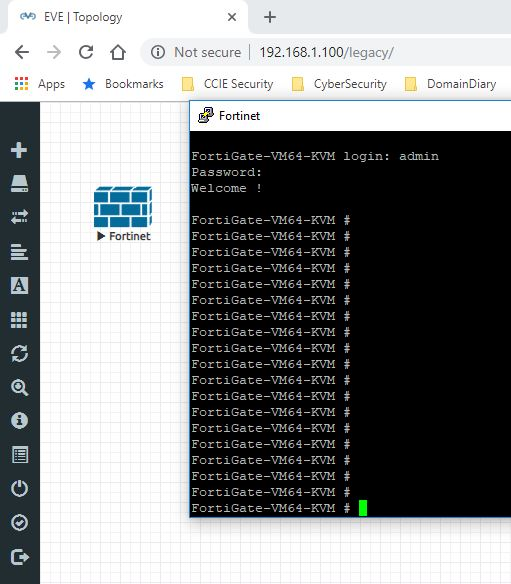
Fortinet’s FortiGate firewalls are widely recognized for their rich feature set and reliability in enterprise network security. EVE-NG allows you to emulate FortiGate firewalls for hands-on practice, testing, and lab scenarios. This guide outlines the step-by-step process of adding a FortiGate firewall to EVE-NG.
Why Use FortiGate in EVE-NG?
- Feature-Rich Learning: Simulate and test FortiGate features such as security policies, VPNs, and web filtering.
- Cost-Effective: Build and test network topologies without the need for physical hardware.
- Lab Preparation: Useful for certifications like NSE (Network Security Expert).
Table of Contents
- Download the FortiGate Firewall Image
- Create a Directory for the FortiGate Image
- Upload the FortiGate image to EVE-NG
- Unzip the FortiGate Image
- Rename and Remove Unnecessary Files
- Fix Permissions
- Add and Test the FortiGate Nodes
- Troubleshooting
Step 1: Download FortiGate Firewall Image
| EVE Image Name | Downloaded Original Filename | Version | vCPUs | vRAM | Console | |
|---|---|---|---|---|---|---|
| 1. | fortinet-FGT-v5-build1449 | FGT_VM64_KVM-v5-build1484-FORTINET.out.kvm.zip | 5.6 | 1 | 1024 | telnet |
| 2. | fortinet-FMG-v5.4-build1151 | FMG_VM64-v5-build1151-FORTINET.out.ovf.zip | 5.4 | 1 | 2048 | vnc |
Other versions should also be supported following the procedure
- From the Fortinet Website:
- Log in to the Fortinet Support Portal.
- Download the KVM-compatible FortiGate image file (e.g.,
FGT_VM64_KVM-v5-build1484-FORTINET.out.kvm.zip).
- From Alternate Sources:
- If you don’t have portal access, some educational platforms may provide indexed links for learning purposes.
Step 2: Create a Directory for the FortiGate Image
- SSH into the EVE-NG Server:
- Use an SSH client (e.g., PuTTY) to connect to your EVE-NG server.
- Create the Image Directory:
- Execute the following command:
mkdir -p /opt/unetlab/addons/qemu/fortinet-FGT-v5-build1484/Replace fortinet-FGT-v5-build1484 with the image version you are using.
Step 3: Upload the FortiGate Image to EVE-NG
- Transfer the File:
- Verify the Upload:
- Check that the file has been uploaded:
ls -l /opt/unetlab/addons/qemu/fortinet-FGT-v5-build1484/Step 4: Unzip the FortiGate Image
1. Navigate to the Image Folder
cd /opt/unetlab/addons/qemu/fortinet-FGT-v5-build1484/2. Unzip the Image File:
unzip FGT_VM64_KVM-v5-build1484-FORTINET.out.kvm.zipStep 5: Rename and Remove Unnecessary Files
1. Rename the Image File: Rename the extracted .qcow2 file to virtioa.qcow2:
mv fortios.qcow2 virtioa.qcow22. Remove the Original Zip File:
rm FGT_VM64_KVM-v5-build1484-FORTINET.out.kvm.zipStep 6: Fix Permissions
- Set Correct Permissions:
- Run the following command to ensure proper permissions for the image directory:
/opt/unetlab/wrappers/unl_wrapper -a fixpermissionsStep 7: Add and Test the FortiGate Node
- Access the EVE-NG Web Interface:
- Open a browser and navigate to the EVE-NG GUI.
- Create a New Lab:
- Create a new lab or open an existing one.
- Add the FortiGate Node:
- In the lab topology editor, select the FortiGate node and add it to your lab.
- Start the Node:
- Power on the FortiGate node and connect to its console.
- Default Login Credentials:
- Username:
admin - Password: (Press Enter; no default password is set).
- Username:

Troubleshooting
- Node Not Booting:
- Ensure the image is named
virtioa.qcow2and permissions are fixed.
- Ensure the image is named
- Node Missing in EVE-NG:
- Confirm the directory structure and image naming conventions.
- Performance Issues:
- Allocate at least 1 vCPU and 1024 MB RAM for FortiGate.