Check Point firewalls are renowned for their advanced security features and are widely used in enterprise networks. Adding Check Point firewall images to EVE-NG allows network professionals to build labs, practice configurations, and prepare for Check Point certifications like CCSA and CCSE.
By adding Check Point firewall images to EVE-NG, you can practice configurations, test security policies, and prepare for certifications in a virtualized environment. Follow the steps in this guide to integrate Check Point into your lab and start exploring its powerful features.
Table of Contents
- Why Use Check Point Firewalls in EVE-NG?
- Steps to Add Check Point Firewall Images to EVE-NG
- Troubleshooting
- Conclusion
Why Use Check Point Firewalls in EVE-NG?
- Hands-On Practice: Build and test real-world firewall configurations in a lab environment.
- Cost-Efficient: Simulate enterprise-grade setups without physical hardware.
- Certification Preparation: Ideal for preparing for Check Point CCSA and CCSE certifications.
Steps to Add Check Point Firewall Images to EVE-NG
Step 1: Download Check Point Firewall Images
- From the Check Point User Center:
- Log in to the Check Point User Center.
- Download the KVM-compatible
.qcow2image for the Check Point Security Gateway.
- From Educational Resources:
- For learning purposes, some educational platforms might provide indexed links to Check Point images.
Step 2: Create a Directory in EVE-NG
- SSH to EVE-NG Server:
- Use an SSH client like PuTTY to connect to your EVE-NG server.
- Create a Directory:
- Create a directory for the Check Point image:
mkdir -p /opt/unetlab/addons/qemu/checkpoint-R81.10/
Replace R81.10 with the version of your Check Point image.
Step 3: Upload the Image to EVE-NG
- Transfer the File:
- Use WinSCP or FileZilla to upload the Check Point
.qcow2file to the directory you created:/opt/unetlab/addons/qemu/checkpoint-R81.10/
- Use WinSCP or FileZilla to upload the Check Point
- Verify the Upload:
- Check if the file is in the correct location:
ls -l /opt/unetlab/addons/qemu/checkpoint-R81.10/
Step 4: Extract and Rename the Image
1. Extract the Image:
If the image is in a compressed format (e.g., .zip or .tar.gz), extract it:
unzip <image_filename>.zip
Replace <image_filename> with the actual file name.
2. Rename the Extracted File: Rename the .qcow2 file to virtioa.qcow2:
mv <extracted_filename>.qcow2 virtioa.qcow2
Step 5: Fix Permissions
- Set Correct Permissions:
- Run the following command to fix permissions for the Check Point image:
/opt/unetlab/wrappers/unl_wrapper -a fixpermissions
Step 6: Add and Configure Check Point in EVE-NG
- Access EVE-NG Web Interface:
- Open a browser and navigate to the EVE-NG web interface.
- Create a New Lab:
- Create a new lab or open an existing one.
- Add Check Point Node:
- In the lab topology editor, add a new node.
- Select the Check Point image from the list of available nodes.
- Allocate Resources:
- Assign at least 2 vCPUs and 4 GB of RAM to the Check Point node.
- Start the Node:
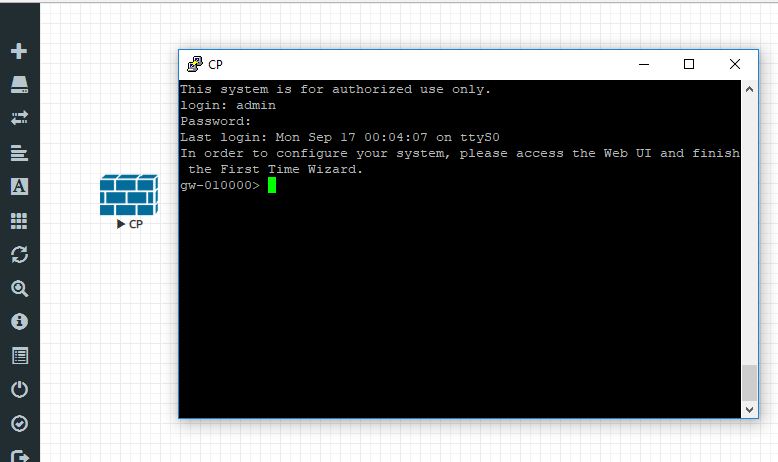
- Power on the Check Point node and connect to the console to verify a successful boot.
- Initial Configuration:
- Follow the Check Point setup wizard to configure the Security Gateway.

Troubleshooting
- Node Not Booting:
- Verify the image is correctly named as
virtioa.qcow2. - Ensure sufficient resources (RAM, CPU) are allocated.
- Verify the image is correctly named as
- Node Missing in EVE-NG:
- Confirm the directory and file permissions are correctly set.
- Connectivity Issues:
- Verify that the management interface is correctly configured.