In this blog, you will learn how to download and add Paloalto firewall image to eve-ng. Palo Alto is a next-generation firewall that provides a lot of Security features. You can add Palo Alto firewall in Eve-NG and create your own lab for testing/education purposes.
How to add Cisco IOU/IOL images to eve-ng
There are two methods to add palo alto firewall to eve-ng.
- Deploying Palo alto firewall using KVM .qcow2 image (this is the easiest method to add a firewall in eve-ng)
- Convert your own Palo alto firewall image for eve-ng
List of Supported Images for Eve-ng
| EVE Image Name | Downloaded Filename | Version | vCPUs | vRAM | Console | |
|---|---|---|---|---|---|---|
| 1. | paloalto-7.0.1 | PA-VM-ESX-7.0.1.ova | 7.0.1 | 2 | 4096 | Telnet |
| 2. | paloalto-8.0.1 | PA-VM-KVM-8.0.1.qcow2 | 8.0.1 | 2 | 4096 | Telnet |
Other versions should also be supported following the procedure.
Download Palo Alto Firewall Image for Eveng
Images are not hosted on our server, we are just indexing the link found on the internet.
1. Deploying Palo Alto firewall to eve-ng using KVM .qcow2 image
1.1. Using our image table, create the correct image folder,
This example is for image 2. in the table above. It is Paloalto 8.0.1 image. Per our image naming table, we have to create an image folder starting with Paloalto-, let’s do it.
mkdir /opt/unetlab/addons/qemu/paloalto-8.0.1/1.2. Upload the downloaded image to the EVE
/opt/unetlab/addons/qemu/paloalto-8.0.1/ folder using for example FileZilla or WinSCP.
1.3. From the EVE CLI, go to the newly created image folder.
cd /opt/unetlab/addons/qemu/paloalto-8.0.1/1.4. Rename the original filename to virtioa.qcow2
mv PA-VM-KVM-8.0.1.qcow2 virtioa.qcow21.5. Fix permissions:
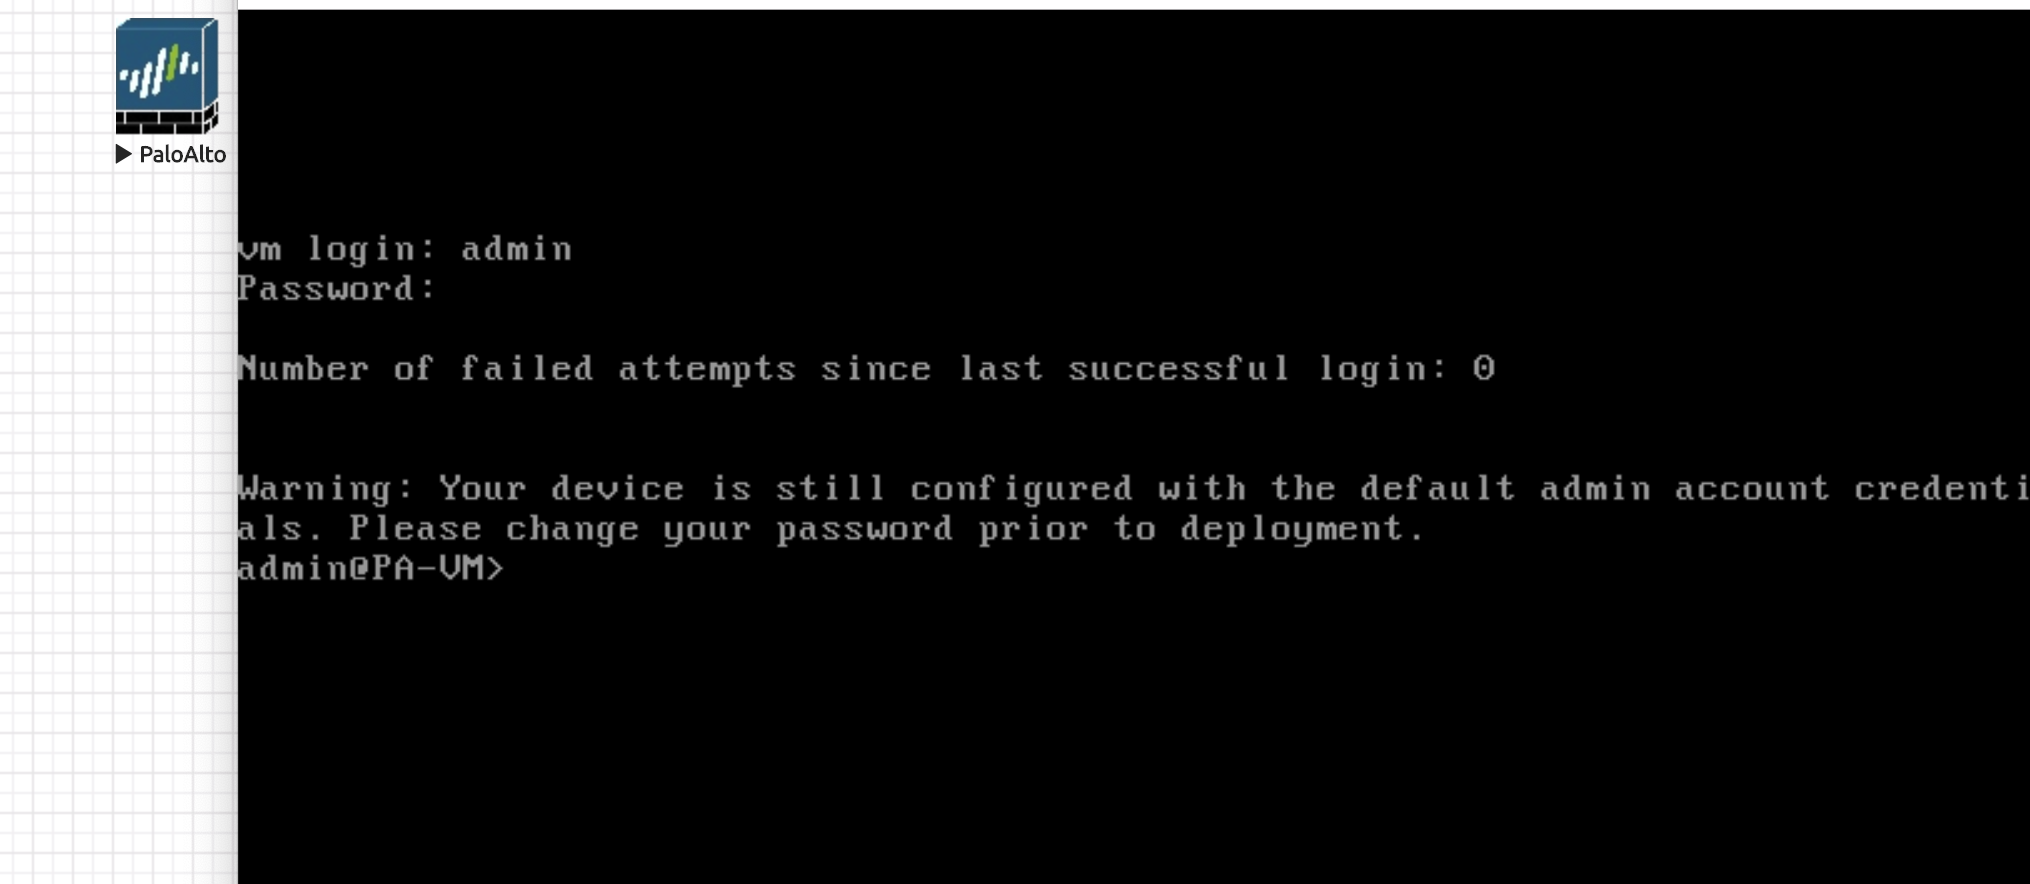
/opt/unetlab/wrappers/unl_wrapper -a fixpermissionsThe default username is admin with password admin.
2. Method, converting your own Palo Alto image for eve-ng from OVA VMDK disk.
2.1. Create Temporary Directory
Create a temporary working directory and upload the downloaded image to the EVE using for example FileZilla or WinSCP. Then login as root using SSH protocol and uncompress it:
mkdir abc
cd abc
tar xf PA-VM-ESX-7.0.1.ova
2.2. Then convert the disk to the qcow2 format:
/opt/qemu/bin/qemu-img convert -f vmdk -O qcow2 PA-VM-ESX-7.0.1-disk1.vmdk virtioa.qcow22.3. Create the folder for HDD image and move it:
mkdir /opt/unetlab/addons/qemu/paloalto-7.0.1
mv virtioa.qcow2 /opt/unetlab/addons/qemu/paloalto-7.0.1
2.4. Delete temporary directory abc and fix permissions:
cd ..
rm -rf abc
/opt/unetlab/wrappers/unl_wrapper -a fixpermissions
The default username is admin with password admin.